 HOMESHOW
  2024-10-22
At the very beginning, let list the tools we need as below:
Pipe& cutters
Screwdriver sets
Adjustable wrenches
Pipe wrenches
Bath towels
Flashlights
Paint buckets and lids
Safety glasses &sun glasses
Lubricants
Pull out faucet or bar faucet
Pipe putty and sealants
All purposed cleaners
Supply lines
Now, let do the job step by step.
①Prepare for installation
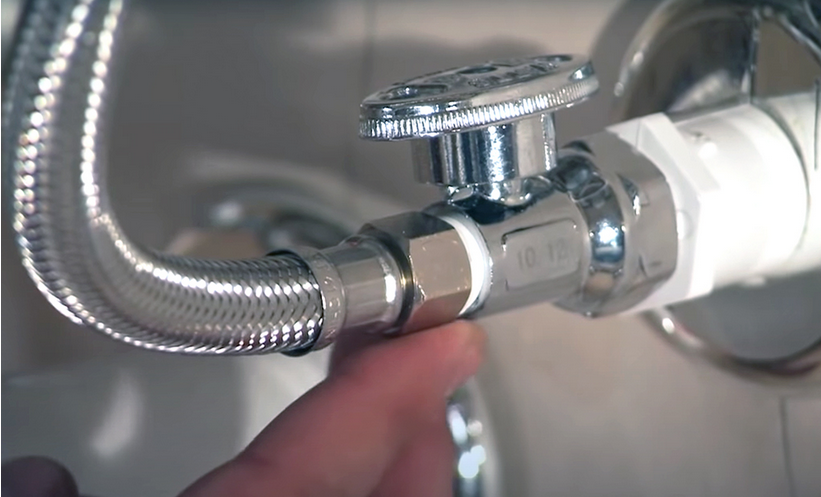
②Shut water off at supply valve
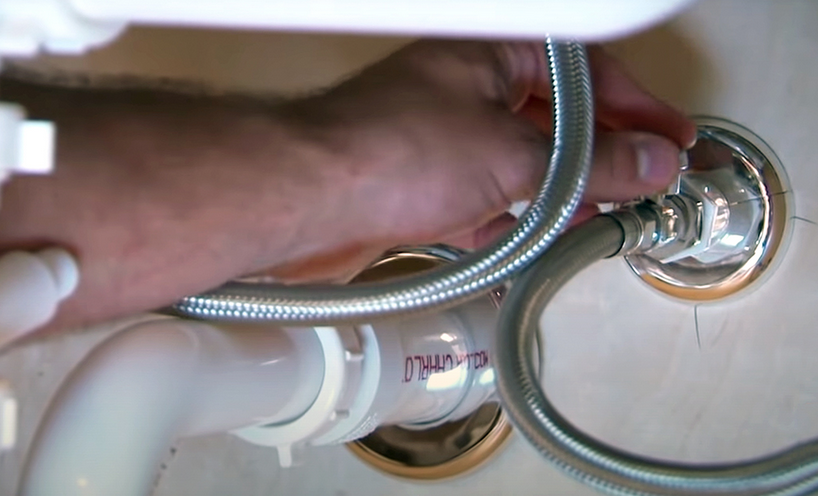
③ Disconnect water supply lines
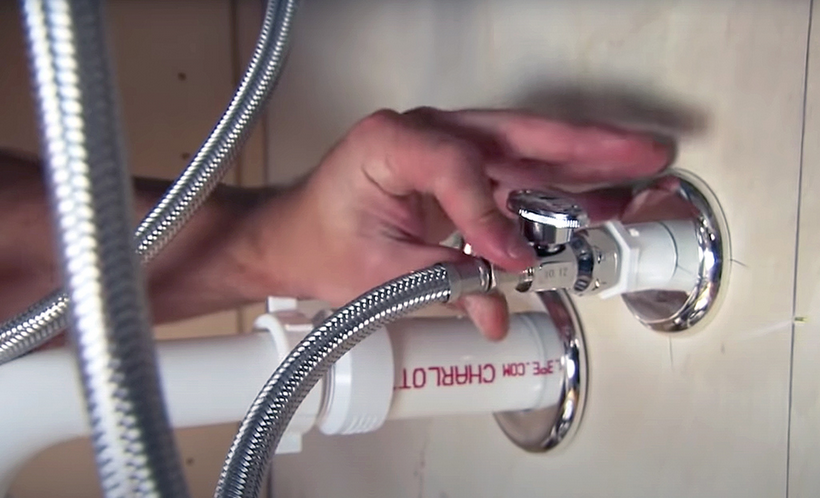
④Remove faucet connections
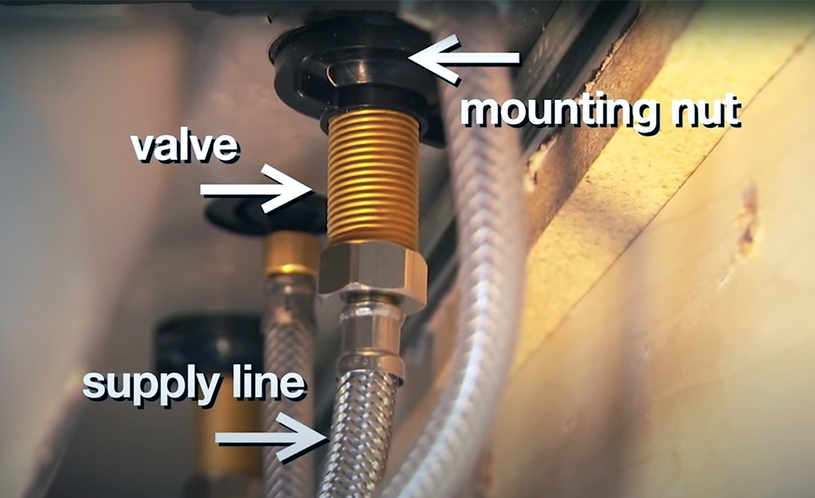
⑤Remove old faucet
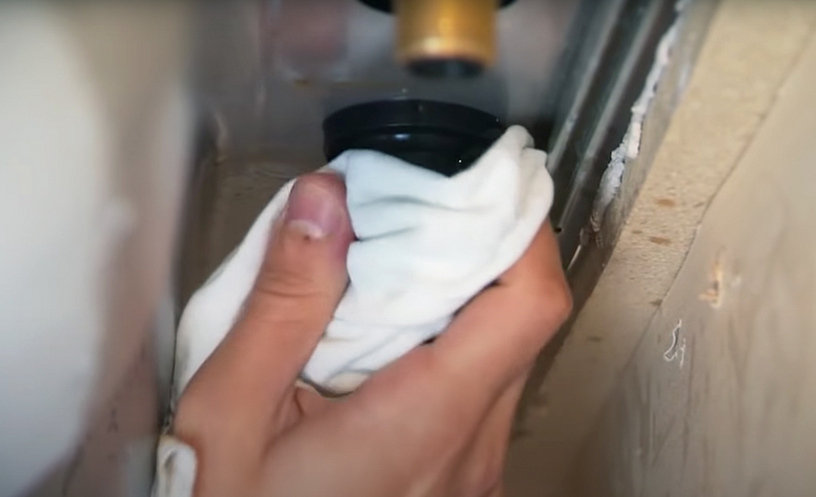
Tip: If any nuts or mounting hardware are rusted or difficult to remove, apply a penetrating oil like PB Blaster to loosen. Give it time to soak in. You may need more than one application.
⑥Install new faucet
⑦Anchor hot and cold valves
⑧ Connect water, turn on and flush lines
⑨Tips for installing a kitchen faucet
The number and location of the holes in your countertop or recessed sink will determine the type of faucet you can insert. You may have one to four holes. The fourth hole is usually used for sprayers or soap dispensers
The distance between the holes is called the expansion, you can determine the expansion by measuring the distance between the centers of the three main holes.
The most common is to expand an 8-inch hole in the center, which is necessary for installing most center-positioned faucets.
A central faucet is any faucet whose handle and spout are part of a unit. The two handle center kits have hot and cold handles respectively connected to the base. They fit cleanly into the outer holes.
The handle of the single handle center set faucet is directly connected to the nozzle. You can mount it directly on the workbench for single-hole installation, or you can use a keyhole cover (also called a cover) that covers the two outer holes.
Another option is the widely used faucet, where the handle and the faucet are independent units. These can be installed with any extension.
When replacing the kitchen faucet, please consider whether you need other features, such as a pull-down kitchen faucet, which helps clean the sink itself and the utensils.